A: Create USB Stick
B: Install Windows
C: Help with problems
How to Install Windows 10 / Windows 11
Customers who order a Xiaomi Book or Redmi Book notebook from us receive a tested device that is often already set up. A user named "Home" has been created, and you can start using it right away. However, there is often one issue: Windows is set to Chinese.
If you have ordered a Microsoft Windows 11 USB stick or already own a Windows license, you can easily install your own version of Windows and use it in your preferred language. It’s actually quite simple: insert the USB stick, run Setup.exe, and you’re good to go.
In some cases, however, you may receive a reset device where everything is in Chinese, or you may want to perform a clean installation yourself. In this tutorial, we’ll show you how to access the BIOS, create a bootable USB stick, and install Windows 10 or Windows 11 on your laptop.
Create USB Stick
Usually, there are two types of Windows on USB. One is the standard ISO version, which is simply copied onto the USB stick and launched via Setup.exe from Windows Explorer. The other is a bootable USB stick, which allows you to boot the system directly before Windows starts.
To do this, you just need to change the boot order in the BIOS and boot from the USB stick first.
1. create a normal USB stick
The first step is to download the required ISO file from the official Microsoft Windows 11 website. You’ll find it under the section “Download a Windows 11 disk image (ISO)”.
Select Windows 11 Multi, choose your language, and download the ISO file.
Now we just need to get the Windows ISO onto the USB stick. This is very easy using the free tool Balena Etcher.
Start Balena Etcher and follow these steps:
- Select the ISO file you just downloaded – "Flash from file".
- A warning may appear that this is not a bootable installation. Simply confirm it.
- Select your USB stick under "Select target".
- Start the flashing process and confirm.
After a short while, the USB stick should be ready and you can use it to install Windows.
1. create bootable USB stick
The bootable USB stick has the advantage that it can also be used directly via the BIOS before the system starts. Of course, a normal installation within Windows is also possible.
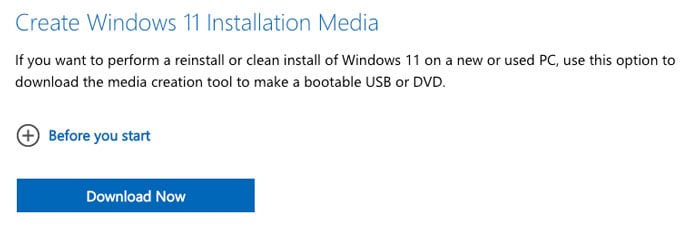
Go to the official Microsoft website and click on “Create installation media for Windows 11”. This will download the MediaCreationTool.exe, which you then launch.
Now follow these steps:
- Accept the privacy policy
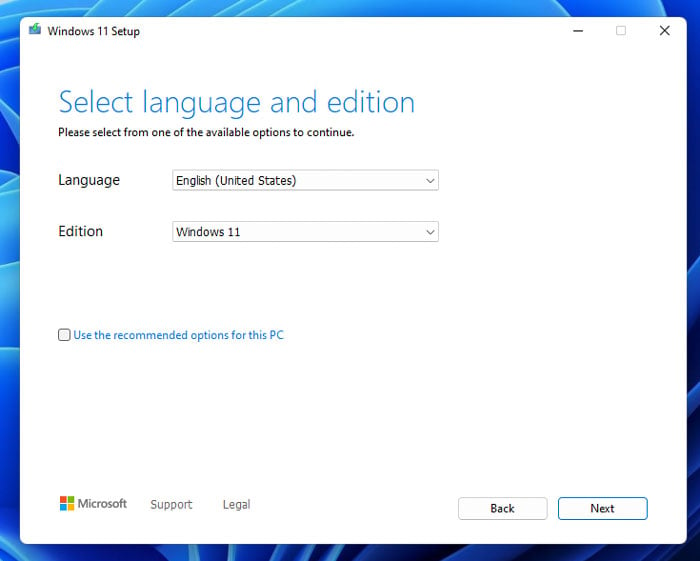
- Select your preferred language and Windows version
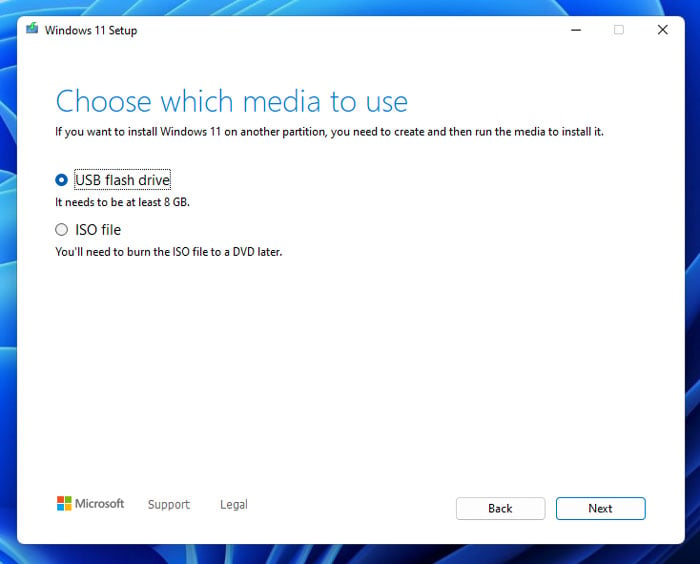
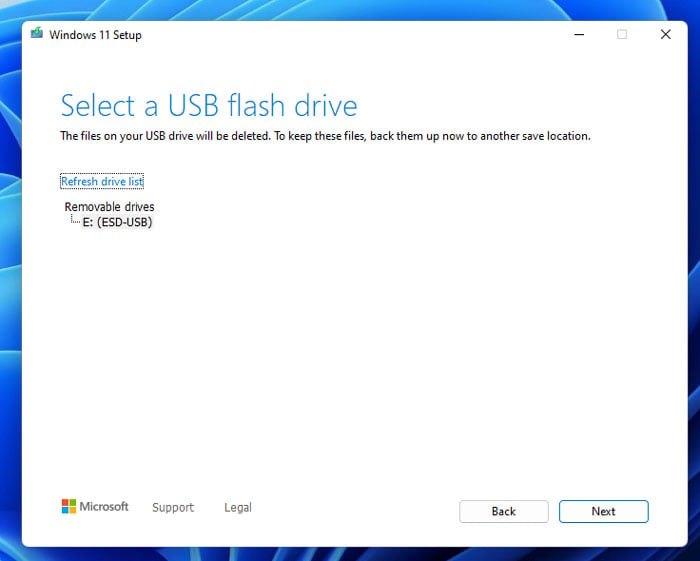
- Choose the USB stick method
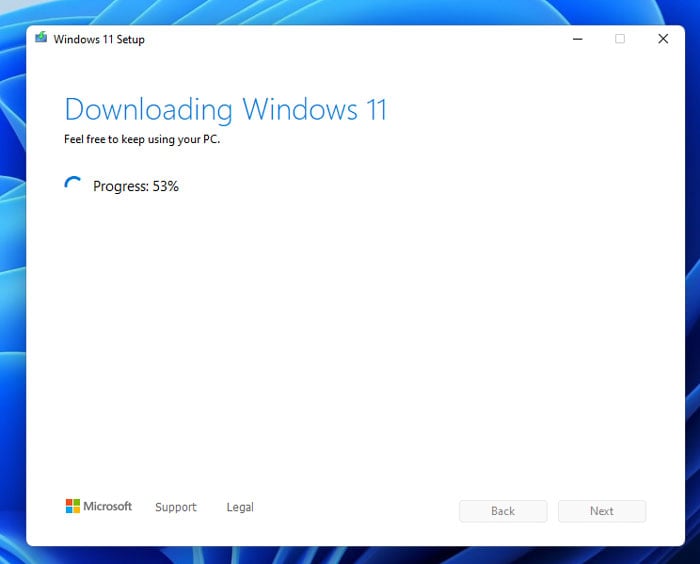
- Insert the USB stick and start the process. The latest Windows version will be downloaded and written to the USB stick.
Once the process is complete, you’ll have a bootable USB stick ready for installation.
Install Windows
The bottom line is that there are two possibilities. It depends on whether you can access Windows and navigate through Windows Explorer, even if you don’t understand the system language.
1. in Windows Explorer
This is a piece of cake. Even if the Windows is in Chinese, as long as you know where Windows Explorer is and can open it, you can install Windows.
Just click on Windows Explorer at the bottom, insert the USB stick, click on the USB stick on the left and start the Setup.exe. This will start the installation and from then on everything should be in the language you chose when selecting the ISO.
Usually you enter the serial number at the beginning and then start the installation. It is important to say during the installation that you want a completely new installation, not an update.
2. in the Bios via USB stick
The installation is also very simple, but here we can boot directly into the BIOS and start the USB stick from the BIOS. For this we do not even have to enter the Windows system. We go as follows for:
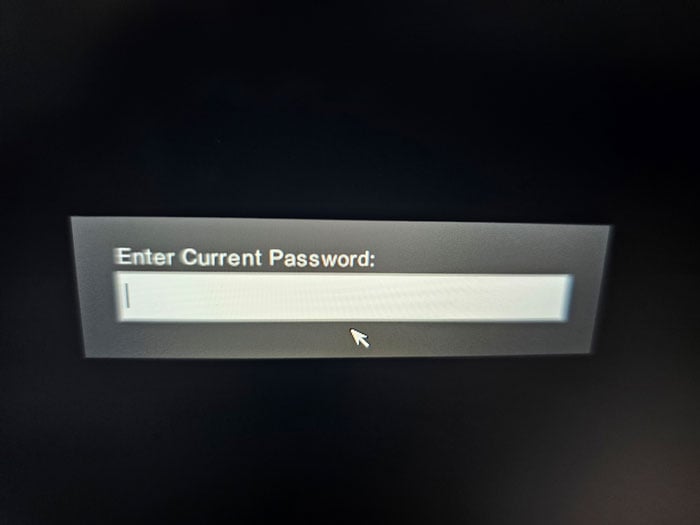
- We start the laptop and press the "F2 key" several times at the beginning. Until we start the bios or the password popup appears. (On some laptops it can also be F5 or F12.
- If the password popup appears, we simply enter "0000" and confirm it with Enter.
- As a rule, the BiOS should be English. If this is not the case, use Google Translate and navigate to the language settings.
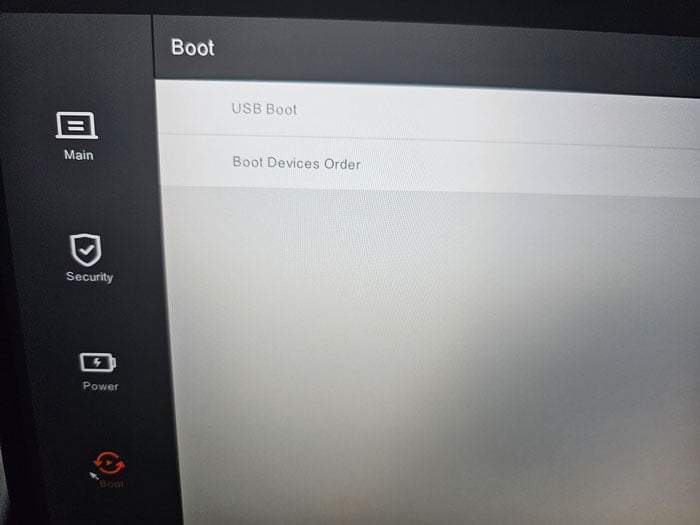
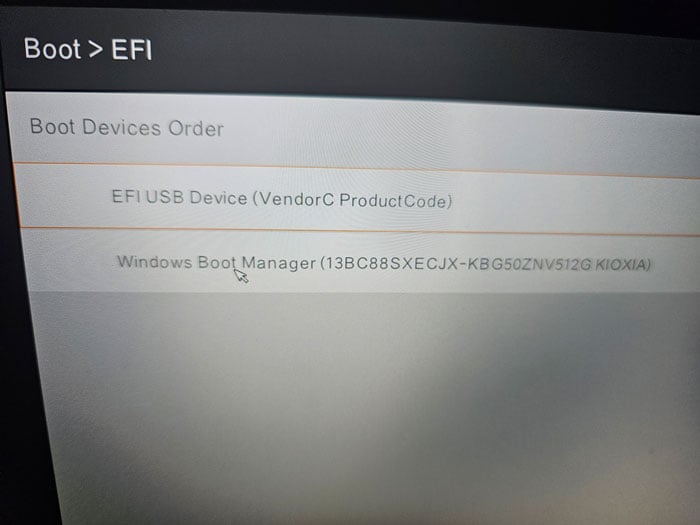
- Now we click on "Boot" on the left, select "Boot Device Order" and click on it twice.
- Normally the USB stick you have inserted should appear at the bottom. Just click on it and press F6 to move it to the top position.
- At last we confirm the settings usually with F10 (Save and Exit).
The laptop should now reboot, boot from the USB stick and perform the Windows installation. This is actually self-explanatory, however we have a tip.
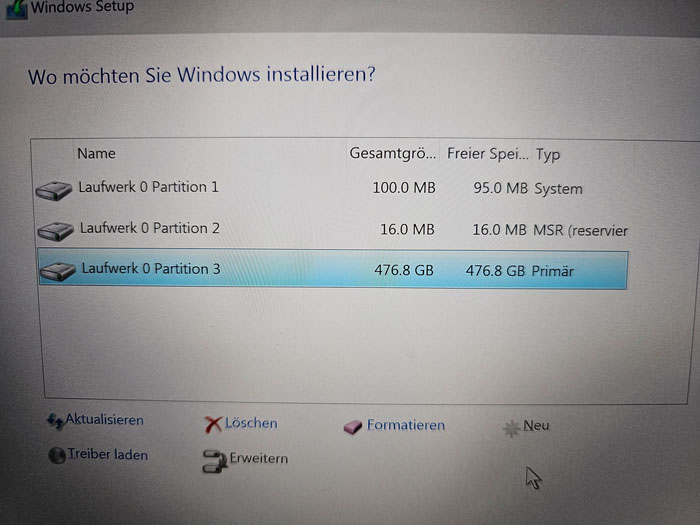
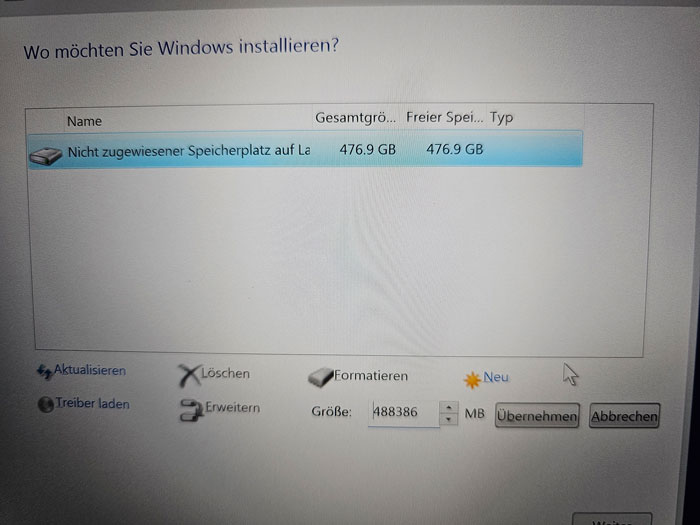
IMPORTANT! When you have entered the Windows key and are at the question where you want to install Windows. Delete all partitions until you only have one large "unallocated drive". Click on New and Windows will automatically create the 3 partitions you need. Then simply select the largest one and click continue.
Once you are done with everything, we recommend that you directly run Windows Update and install all updates. Usually, all required drivers are installed. If some are missing, you can find them on the Xiaomi driver page.
Known issues and drivers
Not everyone is a Windows expert and gets it right the first time. Here we try to capture a few errors and problems and their solution.
1. Drivers are missing after installation
That’s normal. Our tip: start Windows Update and install all available updates. Usually, you’ll need to restart a few times and check again until no more updates appear. Most drivers are installed this way.
If something is still missing, you can use the Xiaomi Notebook Drivers link above, enter your serial number, and find the missing drivers there.
2. I can't get into the BIOS with F2 key
On some laptops it’s not the F2 key, but F5 or F12. Press the key repeatedly right after powering on the device. Due to the fast boot times of SSDs, the prompt is often barely visible.
3. Windows is in Chinese and I do not understand anything
Just open Windows Explorer, click on the USB stick, and run Setup.exe. If everything is in Chinese and you're lost, use Google Translate on your phone. Set it to camera mode with Chinese and your language – you’ll get live translations of the screen.
4. USB stick does not boot out of the BIOS
In most cases, this happens because the USB stick was created with a non-bootable ISO. Please follow the instructions for creating a proper bootable USB stick.
5. Windows 11 USB stick is not recognized
If your USB stick previously had partitions, tools like Balena Etcher or the Media Creation Tool might not detect it. Format it completely using the official SD CARD FORMATTER from the SD Card Association: https://www.sdcard.org/downloads/formatter/